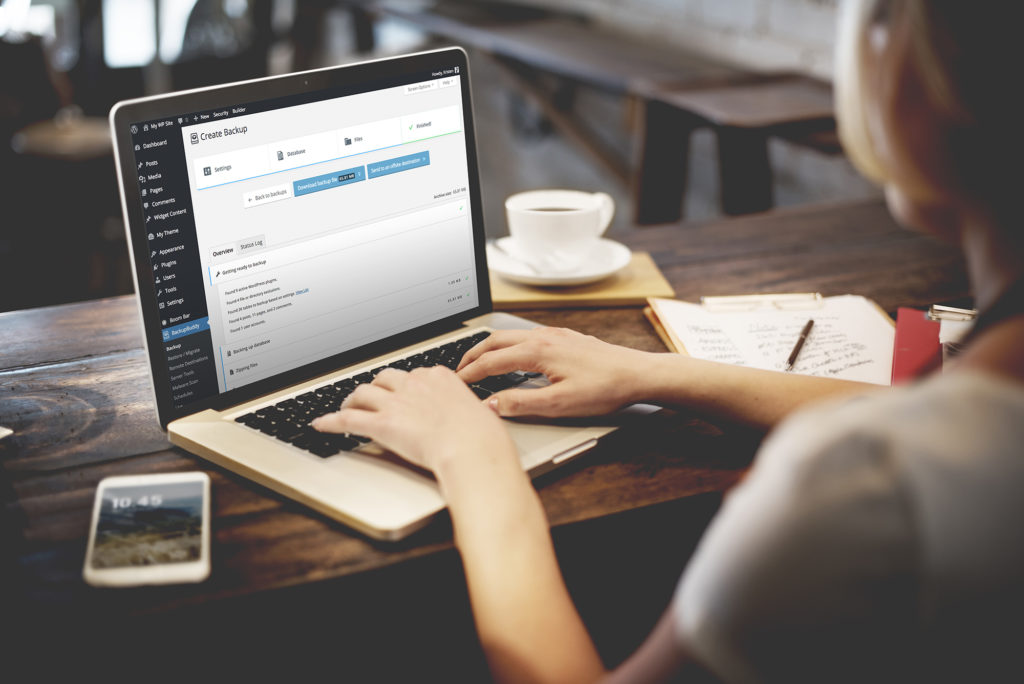
Cybersecurity is a growing concern. While the tools used to combat threats are improving, malware attacks are likewise becoming more sophisticated. According to recent data, over 18 million websites are infected with malware at a given time per week.
The best thing you can do is strengthen your security. Limit user-generated content, enable a firewall, and avail of an SSL (Secure Sockets Layer) certificate. But even with quality anti-malware programs in place, you should always back up your website.
A backup is a copy of all the files that comprise your website. This includes your website’s database, code files, images, plugins, themes, and other content.
Why Do You Need to Back Up Your Website?
Backing up your pages is part of regular website maintenance. Ideally, you should check it off your list at least once a week to avoid data loss and guard against unpleasant situations.
If you accidentally deleted an important file, you can use your backup to restore lost functionality and content. It serves the same purpose when your site crashes after an update or when you encounter compatibility issues with a new plugin or theme.
As a rule, you should always back up your website before making any changes, especially if you’re tinkering with the key components of your code.
Website backups also protect against hackers and malware. In the worst-case scenario, hackers can steal your login credentials and lock you out of your website. By having a backup, you can regain control and patch up security holes quickly.
Additionally, keeping a backup prevents downtime, helps set up a staging site, and makes it easy to migrate to a different web host.
Important Concepts in Website Backup
Before we walk you through the steps on how to backup your website, you need to understand a few basic concepts.
A WordPress website backup is essentially a copy of two things: the WordPress root directory and the site’s database.
The root directory contains all the components responsible for running your website. It’s where you’ll find files for themes and plugins, right down to the rules of how your website communicates with and responds to its server.
You can access the root directory by connecting to your server via FTP (File Transfer Protocol) or SSH (Secure Shell Access). Once you’re in, search for a folder named root, public, or public_html.
Meanwhile, a website database (MySQL database on WordPress) stores everything from login information and visitor records to administrator posts and user comments.
Here, you’ll see data organized into tables for easy access. For example, after publishing a new blog, the data will be stored under the table wp_posts. The database also records the time and date of the post, revision history, metadata, and other relevant information.
To back up your database, you need to export all of the tables as an SQL (Structured Query Language) file then import its contents. We’ll explain this in more detail later.
3 Ways to Back Up Your WordPress Website

With the bases covered, it’s time to get down to business. In this blog, we’re going to discuss three methods you can use to backup your website.
Each method has its strengths and weaknesses, so depending on the situation, using one over the other is more beneficial.
Method 1: Manual Back Up
Manual backups are made by copying and exporting all the files on your website yourself. It’s useful for migrating to a different web host or uploading a copy of your pages to multiple storage locations.
It’s also a convenient choice for partial backups when you only need to make a copy of select files.
Backing up the WordPress root directory is done by logging into your server via a web host manager or application.
How to do a manual website backup via cPanel:
- Ask your web host to provide you with the username and password and log in to your server
- Navigate to cPanel and locate your root directory under the File Manager
- Right-click on the WordPress root directory folder and select Compress
- Choose your preferred file format (from ZIP, Tar, GZIP, etc.)
- Click Compress File(s) and wait for the archive folder to appear
- Download the archive files
- Transfer the files to a secure location and save your backup (Tip: Make several copies and upload them to different storage devices or cloud services)
How to do a manual website backup via FTP or SFTP
- Install your preferred website backup application (e.g., FileZilla or Transmit)
- Get your FTP login credentials from your web host
- Input your username and password into the application and answer the other required fields
- Select which files you wish to backup
- Right-click on the files and choose Download Selected Items
- Double-check downloaded files
How to do a manual backup of your WordPress database
- Log in to your control panel
- Locate phpMyAdmin (under Database Tools on cPanel)
- Access the main administration panel
- Click on the Databases tab or look for your database manually on phpMyAdmin
- Select the tables you want to copy (Tip: Click Check All to select all the tables at once)
- Click on the Export tab and choose an export method and file format (set it to SQL)
- Run the backup and save the files in a secure location
Method 2: Using a Backup WordPress Plugin
WordPress is known for the vast collection of plugins available to users. Of the 54,000 plugins, a handful of them is designed to backup web pages.
Some backup plugins save a copy of your entire website regularly, while others are prompted when you implement updates and other website optimizations. The ability to automate when backups happen is one advantage plugins have over exporting data manually.
Moreover, most plugins work fast and have the same mechanics. You only need to learn how to use one type of plugin even if you decide to switch to a different tool.
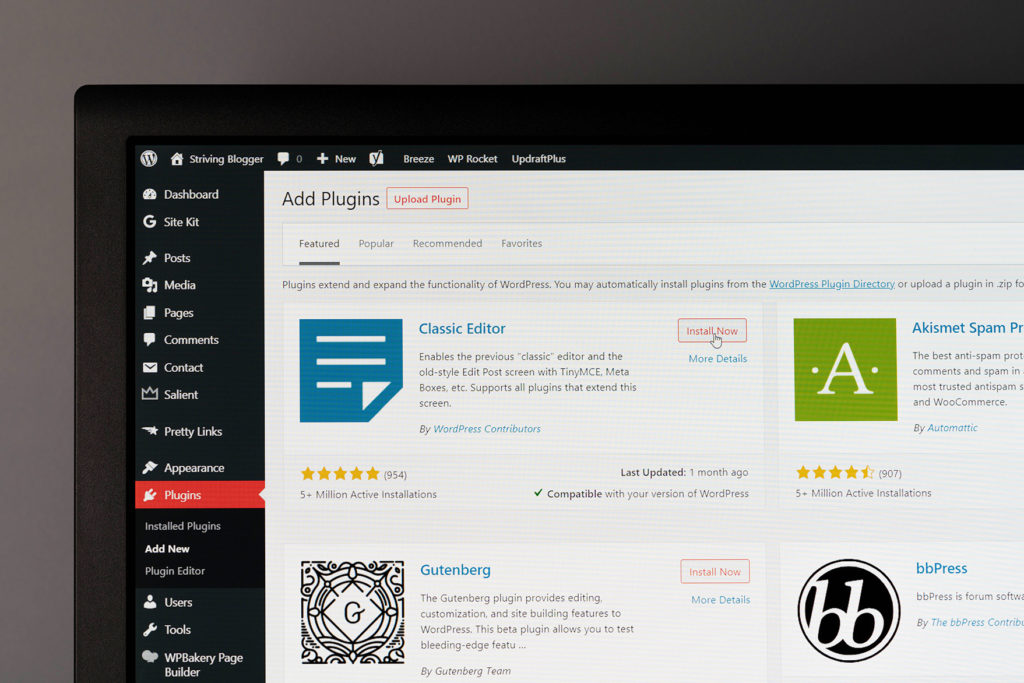
How to backup your WordPress website using a plugin
- Choose a plugin from the WordPress plugin library or download one from a third-party website
- Go to the WordPress dashboard
- Select Plugins from the menu bar, then Add Plugins
- Type the name of your plugin into the search bar
- Install and activate the plugin
- Open the plugin through Settings
- Configure the plugin according to your preferences (e.g., set automated backup schedules, storage location, etc.) and save changes
- Run your backup
Method 3: Backing up with your web host
The last method is backing up your website through your web host service provider.
Many reputable web hosts offer automatic backups done at different time intervals. In this case, you don’t have to do anything but access the saved files. Simply log in to your hosting dashboard and locate the folder containing the existing backups.
Backing up through your web host is a good safety net, but we don’t recommend you relying on this service alone. Always keep a copy of your website that you can access quickly in case something goes wrong.
Takeaway
Website backups are a necessity regardless of the size of your website. Make multiple copies of your code files and content and store them on different devices and cloud storage services as possible.

Finally, when choosing which method to use, factor in the following:
- Automation
- Desired frequency of backups
- Ease of retrieving saved files
- Partial or full backup
- Default location of exported data
Although automated backups are convenient, they might not be enough. At the end of the day, it’s all about securing a fail-safe for any speedbumps.
Now that you know what to do, start making a habit of backing up your website. You’ll thank us later.
Get the Most Out of Your Website
Enjoy custom themes and optimizations when you work with a team of professional web developers and designers. Let us handle building or improving your website to get maximum ROI. Contact DevWerkz today.